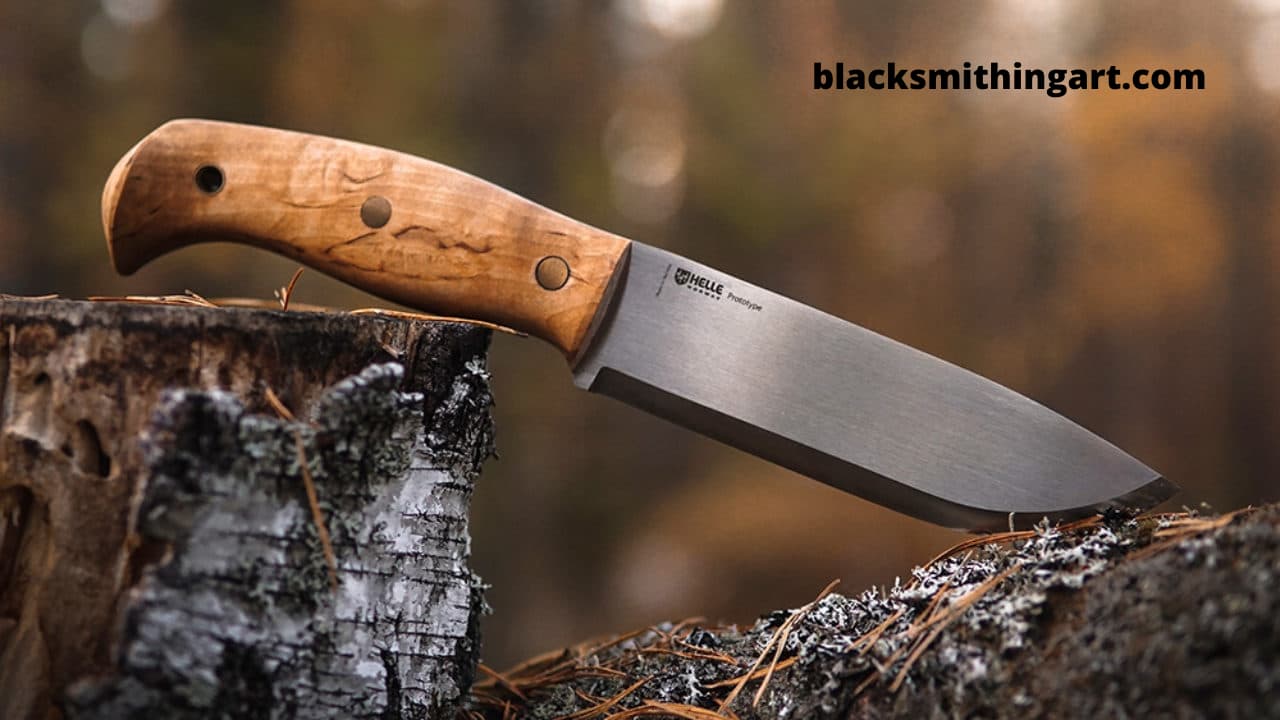
If you are an outdoor enthusiast who loves to explore the wilderness, then you know the importance of having a reliable tool. A bushcraft tool is an essential tool that can help you with various tasks, from carving wood to preparing food. While there are many types of bushcraft knives available in the market, making your own knife can be a fulfilling and rewarding experience.
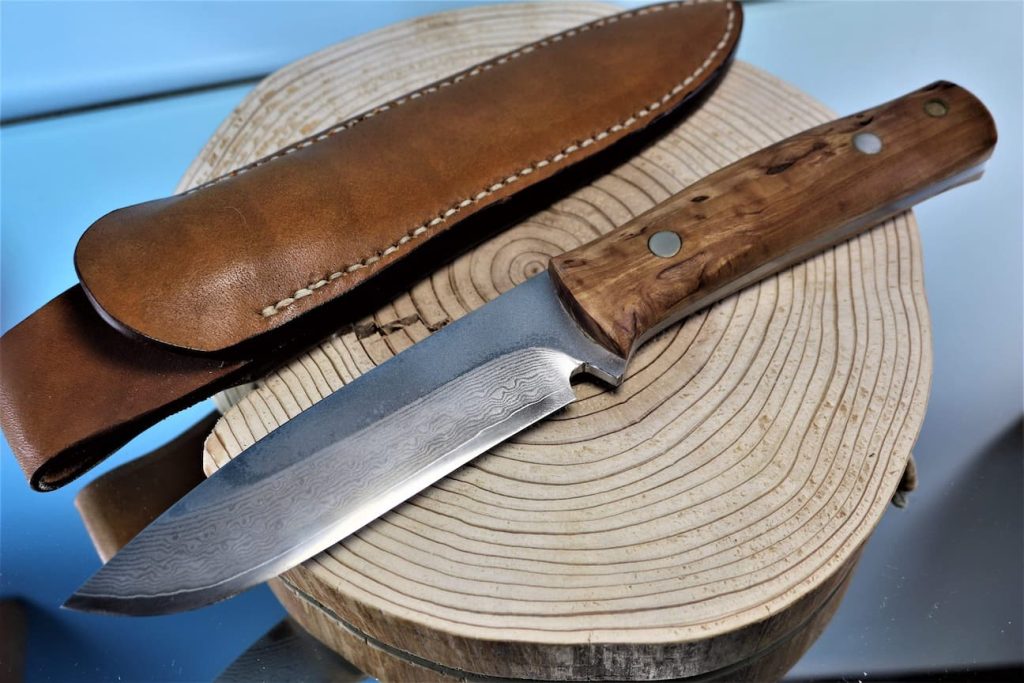
Bushcraft knives are not just ordinary knives, they’re specialized tools that are designed to withstand the harsh and rugged conditions of the wilderness. It’s a versatile tool that can be used for a variety of outdoor activities, including camping, hunting, survival situations, and personal use.
In this guide, we will take you through the process of making these tools step-by-step. We will provide you with tips on how to select the right materials, tools, and techniques that will help you create a functional and durable knife that you can be proud of.
So, if you’re ready to embark on this exciting journey of creating your own bushcraft knife, let’s get started and make a bushcraft knife.
Contents
Materials needed for knife making
Before you start making your knives, you need to gather all the necessary materials. Here are the things you will need:
- Blade steel – Choose high-quality steel that can hold a sharp edge and resist corrosion. You can also use a knife blank.
- Handle material – This can be anything from wood, bone, or even antler.
- Pins or rivets – These are used to attach the handle scales to the tang.
- Epoxy – Used to glue the handle scales to the tang.
- Sandpaper – For shaping and finishing the blades and handle.
- Drill – For drilling holes.
- File or grinder – to grind the blade.
- Saw – For cutting the steel to the desired length.
- Hammer – For flattening and shaping the steel.
Knife-making
Now that you have all the necessary materials, let’s take a look at the steps involved in the knife-making process.
Choose the steel – The first step is to choose the right steel for your blades. You can select from a variety of steels, but it’s important to select one that is suitable for knives. Look for steel that can hold a sharp edge and resist corrosion. Some popular choices include 1095, D2, and O1 steel.
When selecting the steel, consider the tasks you plan to use the knife for and your level of experience with knife making. You can also use a knife blank. For beginners, it may be best to choose a simpler steel like 1095, which is easy to work with and provides good edge retention.
Cut the steel – Using a saw cut the steel to the desired length. The length of the blade will depend on your personal preference and the tasks you plan to use the knife for.
Heat treat: One important aspect of knife making is the heat treatment or heat treating process. The heat treat process involves gradually heating the blade to a specific temperature, then cooling it down in a controlled manner to harden the steel.
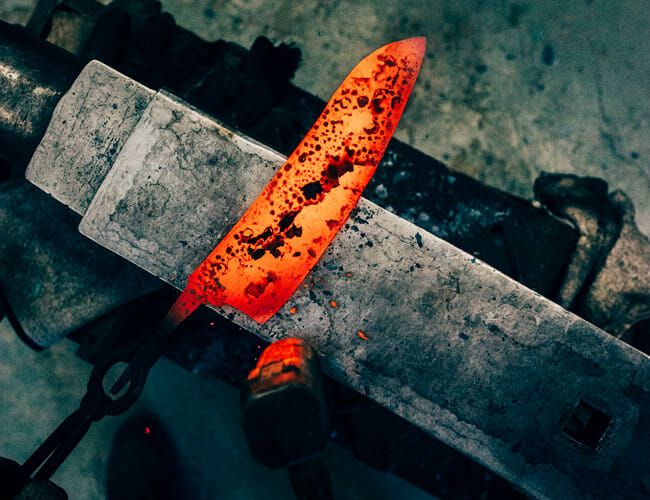
Heat treatment is a critical step in knife making because it determines the hardness, toughness, and durability of the blade. Do not forget to keep the right temperature and cool the steel.
Heat treat involves heating the steel to a specific temperature and then quenching it in oil or water to cool it down quickly.
Heat source – You’ll need a heat source, such as a propane torch, to heat treat. You’ll need to gradually heat the steel with a heat source to the correct temperature, which will depend on the specific type of steel you’re using.
Shape the knife blade – Using a file, angle grinder, or bench grinder, shape the blade to the desired result. You can choose from a variety of blade shapes, such as drop point, clip point, or spear point. Remember to wear safety goggles and gloves while shaping the blade.
When shaping the blade, take your time and work slowly to ensure that the blade is symmetrical, and the edges are straight.
Once you have shaped the blade, it’s time to start the grind. Using a grind tool or a file, you can start to grind the blade to your desired thickness. Be sure to take your time and use a steady hand to grind. Once you have the desired thickness, you can start refining the edge.
After the grind, you need to clamp the blade onto a workbench or a vise to hold it steady while you work on the handle. The clamp prevents the blade from moving around.
One alternative method for shaping the blade is to use a forge. A forge is a type of furnace that uses heat to soften metal. With a forge, you can heat it to a high temperature and then use a hammer to make it into the desired form.
If you work in a forge and have enough experience working with metal, using the forging method can be a great way to make a bushcraft knife.
Drill the holes – Using a drill, drill holes in the handle scale. Make sure the holes are evenly spaced and in line with the tang. The tang is part of the blade that extends into the handle, and it’s important to align the holes properly to ensure a secure fit.
Attach the handle scales – Apply epoxy to the tang and attach the scales. Make sure they are aligned properly and press them firmly into place. Once the scales are attached, leave the knife to dry for a few hours or overnight to ensure the epoxy has fully cured.
Shape the handle – Using a file and sandpaper, shape the handle to the desired shape. Make sure the handle is comfortable to hold and provides a good grip. Use a file, bench grinder, and sandpaper to shape the handle to the desired shape.
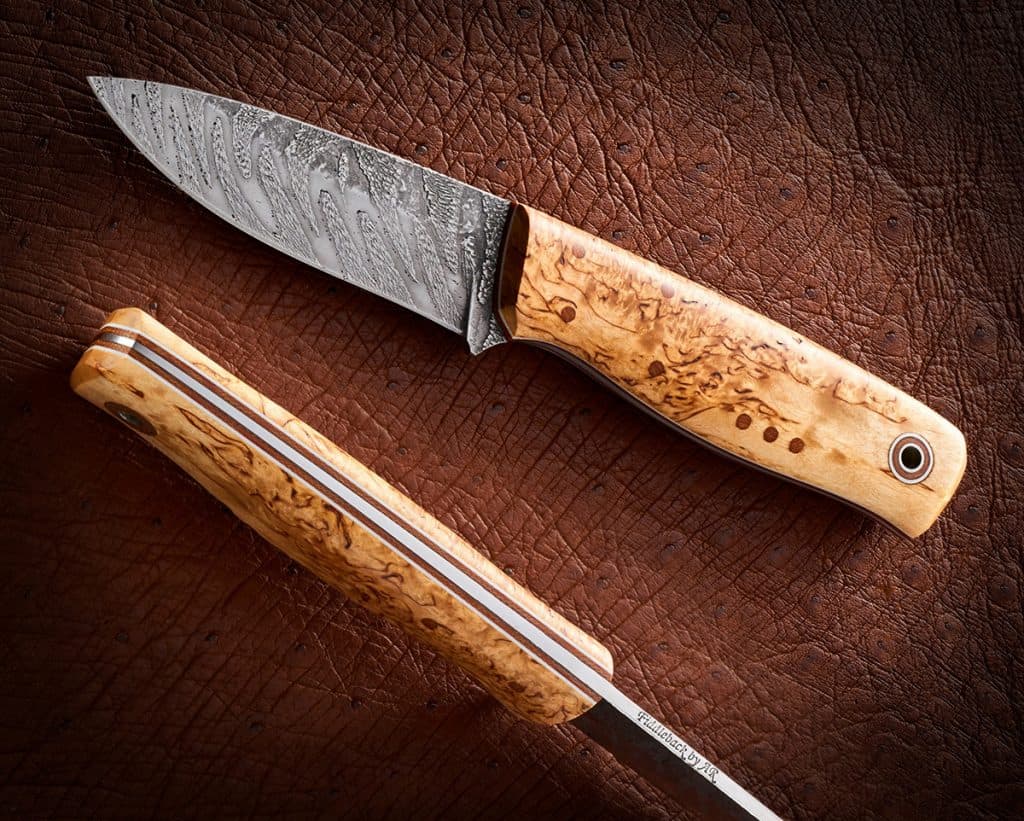
Make sure the handle is comfortable to hold and provides a good grip. It’s important to take your time and work slowly when shaping the handle to avoid any mistakes.
Finish the blade – Using sandpaper, finish the blade to a smooth surface. Start with coarse sandpaper and gradually move to finer grits.
Make sure to remove any scratches or blemishes from the blade to ensure a smooth finish.
Sharpen the blade – Using a sharpening stone, bench grinder, or a honing rod, sharpen the blade to a razor-sharp edge. It’s important to take your time and sharpen the blade slowly to avoid any mistakes.
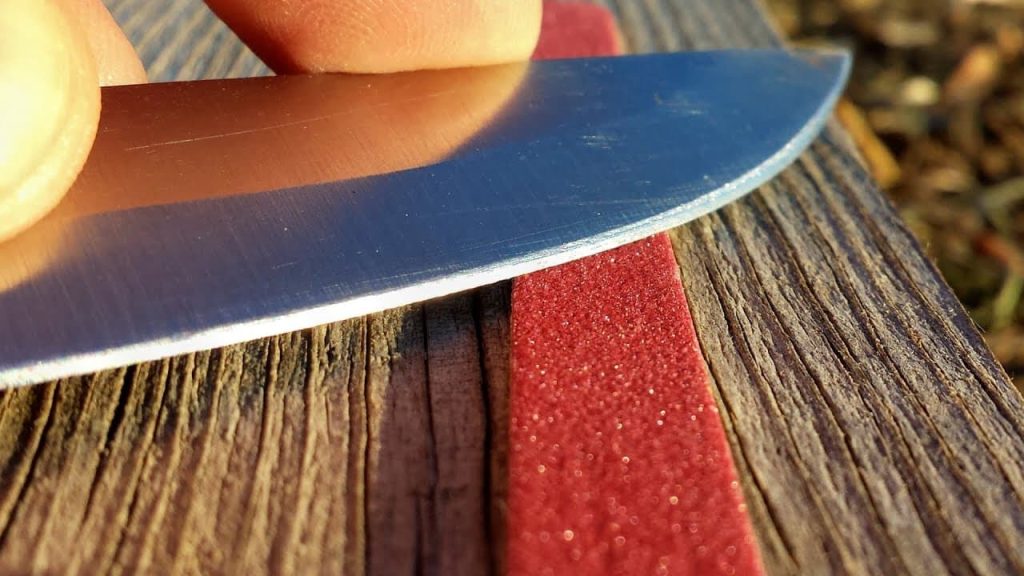
When sharpening the blade, it’s crucial to keep the cutting edge at the appropriate angle. For that, you can use an angle grinder.
The angle of the bevel depends on the intended use of the knife. Make a bushcraft knife, for example, typically has a bevel angle of around 20 to 25 degrees, which provides a good balance between sharpness and durability.
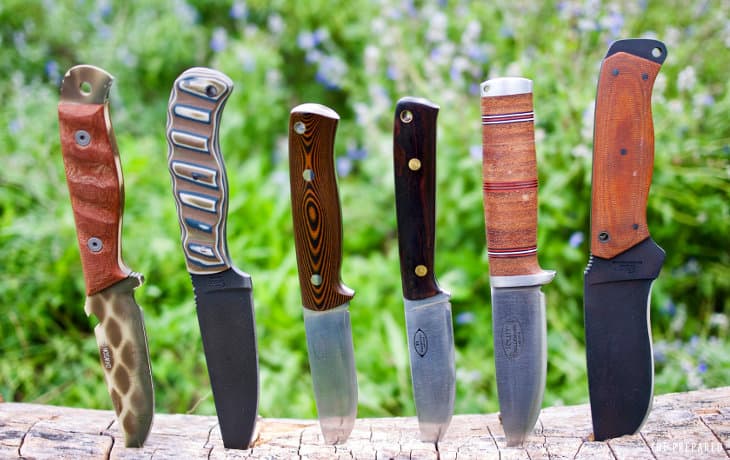
Final touch-ups – Once the blade is sharpened, give the knife a final check and touch up any rough spots. As you can see in the above photo, a finished bushcraft knife can be a beautiful and functional tool for any outdoor enthusiast.
Tips for knife-making
Knife-making requires some skill and patience. Here are some tips to help you make a knife that is functional and aesthetically pleasing:
Choose the right steel – Choose high-quality steel that is suitable for a knife. Do not forget about heat-treating.
Wear protective gear – Always wear safety goggles and gloves when working with sharp tools.
Practice good technique – Use proper techniques when shaping and finishing the blade to avoid any accidents.
Test the knife – Before using the knife in the field, test it to ensure it performs well and is comfortable to use.
Common mistakes to avoid
When making, there are some common mistakes that you should avoid:
Choosing the wrong steel – Choosing steel that is not suitable for a knife can lead to poor performance and a short lifespan. It’s important to consider the carbon content of your steel.
Rushing the process – Taking shortcuts or rushing through the process can lead to mistakes and a poor-quality knife. Remember about heat treating.
Not properly aligning – If the handle scales are not properly aligned, the knife will not be comfortable to use and may even be dangerous.
How to maintain
After making it, it’s important to take care of it to ensure it lasts a long time. Here are some tips for maintaining your knife:
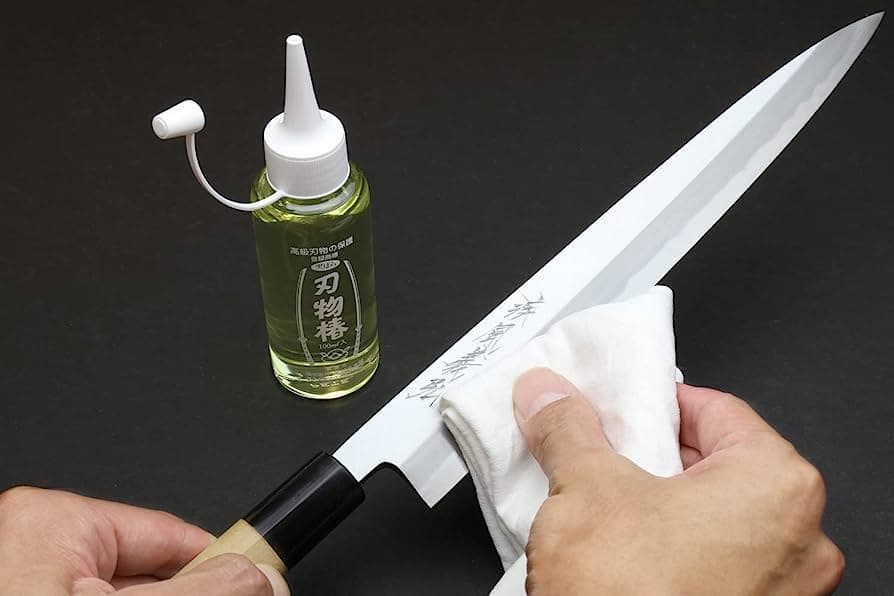
Keep it clean – After using the knife, clean it thoroughly and dry it completely to prevent rust.
Motor oil for the blade – Apply a thin layer of motor oil or vegetable oil to the blade to protect it from rust and corrosion.
Sharpen the blade regularly – A dull blade can be dangerous and is less effective. Sharpen the blade regularly to maintain its sharpness.
Store it properly – Store the knife in a dry and cool place to prevent rust and damage.
FAQ
Let’s highlight some important moments.
What is the best bushcraft knife material?
The best material for a knife depends on personal preference and intended use. However, high-quality steel, such as 1095, D2, and O1 steel, is often used for bushcraft knives due to their ability to hold a sharp edge and resist corrosion.
What makes a knife a bushcraft knife?
A knife can be considered bushcraft if it’s designed for outdoor activities, such as camping, hunting, and survival situations. This is typically characterized by a sturdy blade, a comfortable handle, and a versatile design that can be used for a variety of tasks.
What is the difference between a survival knife and a bushcraft knife?
A survival knife is designed for emergency situations and is typically larger and heavier than a bushcraft one. It’s often used for tasks such as chopping wood and building shelters. In contrast, a bushcraft tool is more versatile and can be used for a wider range of outdoor activities.
What angle to make a bushcraft knife bevel?
The angle of a knife bevel can vary depending on the intended use and personal preference. However, a common angle for a bevel is around 20 to 25 degrees, which provides a good balance between sharpness and durability.
Conclusion
Making a knife can be a fun and rewarding experience. With the right materials, step-by-step instructions, and techniques, you can create a knife that is functional and aesthetically pleasing.
Remember to take your time, practice good technique, and test the knife before using it in the field. With proper maintenance, your knife can last for many years and become a cherished tool in your outdoor gear collection.
In conclusion, making a knife is a rewarding experience that requires time, patience, and skill. The process involves selecting the right type of steel, cutting and shaping the blade, drilling holes, using an angle grinder, shaping the handle, finishing the blade, sharpening the blade, and giving the knife a final check. Each step is important and contributes to the overall quality of the finished product.
It’s essential to choose high-quality materials and use proper techniques to ensure the knife is functional, durable, and aesthetically pleasing.
Taking the time to test the knife before using it in the field is also essential to ensure its reliability and performance. Regular maintenance is also crucial to keep the knife in top condition and extend its lifespan.
