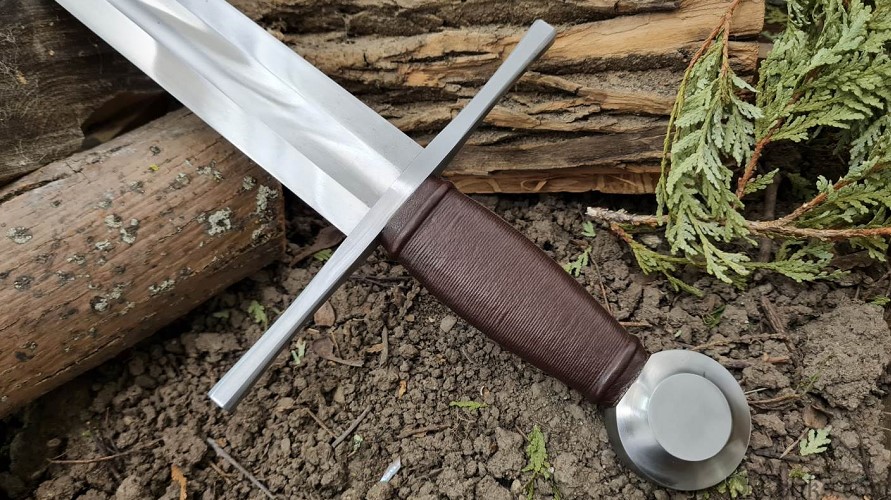
Have you ever wondered how to forge a sword? Bladesmithing and forging techniques have been used for thousands of years in the craft of sword making. Forging blades that are over 24 inches long are used to forge a sword.
The swords are made from, for example, high-carbon steels. Also, can be used a pattern welded steel, called Damascus steel.
One of the more dangerous weapons a smith can make is the sword, which takes years to master. The inherent danger makes it recommended that you take a class and learn from a professional. Here’s a complete guide on how to forge a sword.
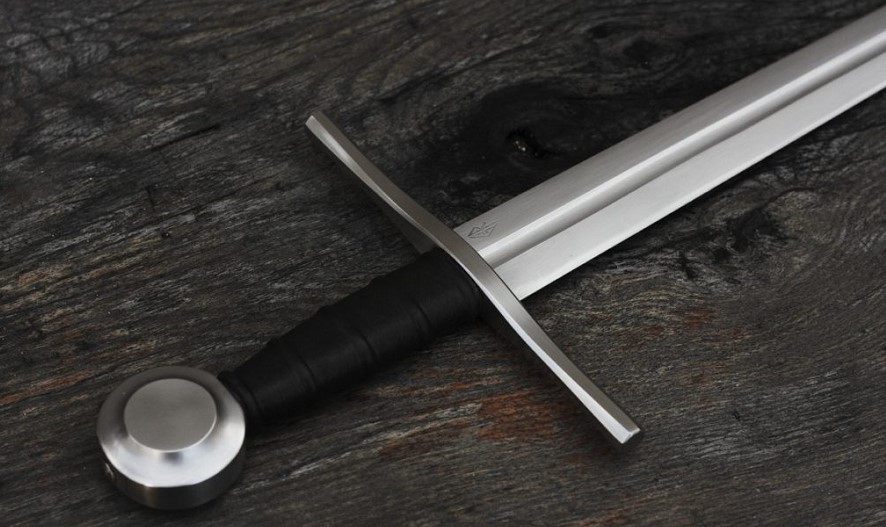
A short history of sword-making
The method of sword-making dates back to the first millennium B.C., with Celtic, African, Germanic, and Roman swords being the first to exhibit it. In South Asia and the Middle East, layers of Damascus steel were used during the Middle Ages.
The technology that made its way to Korea and Japan was created by Chinese swordsmiths, who developed innovative sword-making techniques and new weapons such as the katana.
It became known as the ‘Golden era’ of Japanese blacksmithing between 1185 and 1333 A.D., as they developed new technology and mastery around sword making out of the necessity of defense.
Modern machines and sword-making technology were developed during the Industrial Revolution. Until recently, traditional methods of sword-making became less common. Blacksmithing was a niche industry kept alive by a small pool of bladesmiths in the mid-20th century.
Bladesmith William Moran revived the ancient pattern welding process of forging pattern-welded steel (or Damascus steel) in the 1960s.
The process of swordsmithing was made accessible to anyone who wanted to learn. The American Bladesmith Society was founded by him in 1976, further expanding the network and resources of both professional and hobbyist bladesmiths.
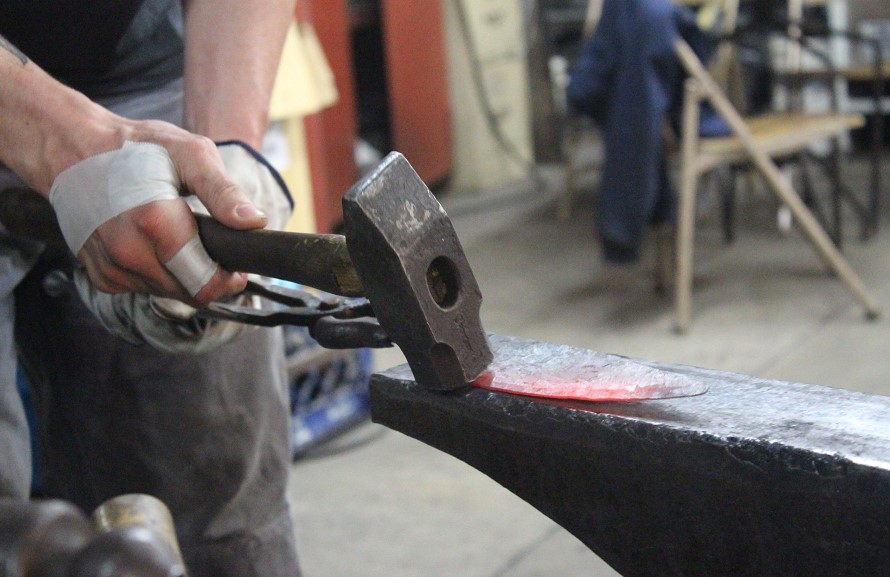
How to forge a sword step by step
Choosing the right kind of steel and the appropriate equipment
There are two options: high carbon steel or pattern welded steel (Damascus steel). Despite their differences, they will suffice to forge a sword. The other tools you will need are the hammer, anvil, tongs, a vise, a forge, chisels, punches, drifts, sandpaper, a magnet, and a quenching oil in a metal storage container.
The first step in forging swords is to make the handle.
It is just better to get the rough blacksmithing done, making just a utilitarian kind of plain sword, and then get close to the finished sword.
You should avoid having sharp angles on it. Stress fractures can form at that angle because of this. Stress fractures can cause the blade to break off the handle while you forge a sword. The sword on the left has rounded corners, but you don’t have to get them that rounded.
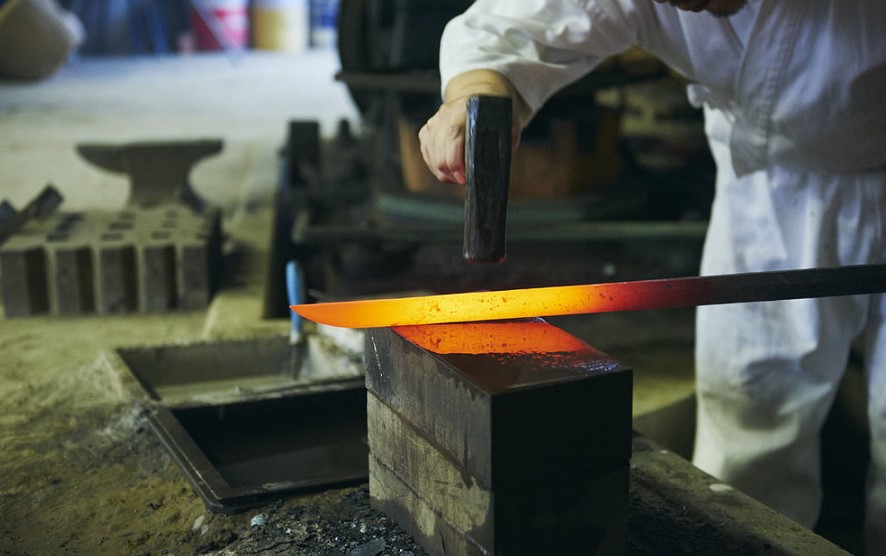
Make a sword shape and draw the sword blade
This hammering technique is called edge hammering. To start to forge a sword, you place the sword on the anvil, you strike with the hammer. The top and bottom compress evenly.
Once we have reached the desired tang, it is time to start working on the size of the blade. The first piece of steel can be 18 inches long, which makes for a fairly short sword blade.
The sword blade should be longer. Because it is 3/16 inches thick, it is too thick for a sword blade, which is great. Some of that thickness should be taken and hammered into length. The technique of drawing out can be used to do this.
Usually, you do this in three or four heats. It is not possible to heat the entire blade. Start by heating one end of the blade. It can be the end near the tip or the end near the tang.
Place it on the edge of the anvil after heating it. The sword will take three blows if you hit it with a hammer across the blade.
After you hit the sword three times, move it up about a half inch and hit it again three times. Through the entire red-hot section of the blade, you continue doing this.
The metal spreads in one direction. The sword will have a very narrow blade. It extends the sword without making it wider.
But it is a good idea to draw out a section of the blade while you are working, then flip it over quickly and hammer these ridges down immediately. Then you put the next section back in the forge to heat it.
You will probably do a lot of smoothing out at this point, but you won’t get it perfectly flat. And since you are progressing, this will save you a lot of time and work later.
Making the tang and drawing out the blade is a few hours of work. You must now focus on the shape and trueness of the sword.
Make sure that it remains flat. It is going to be hard to hammer it down. You should keep this in mind as you are working on the sword.
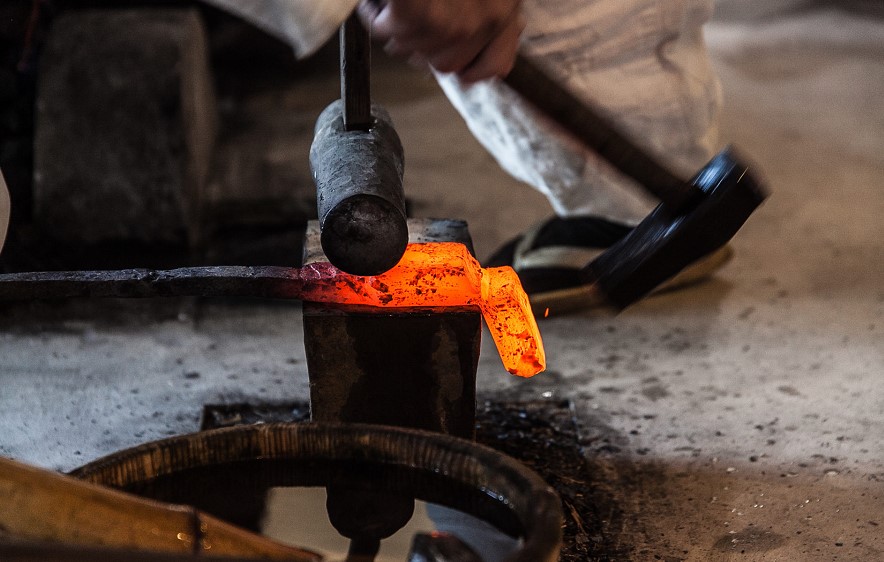
Sword making close to its final form
Grinding work can be avoided thanks to this. Set up a flat and straight sword.
The shapes of the sword should be formed. We are bringing the final form to the work we have done on the shank. Punch out bevels on both sides of the blade to remove ridges and burrs.
The tip of the sword is formed. It is not necessary to bring it to the final point at this stage.
It is possible to do it at the end.
You should bring the tip to its final shape but feed it a bit for strength because you have a lot of work to do on this sword and this tip will be a bit brittle. Try to get it pointed, but leave it slightly rounded.
The blade needs to be shaped and worked on. Here, we’re dealing with thickness differences and the various lines and marks made during the process. Many marks need to be removed if you pulled the blade out. Either you start at the hilt or you work with the blade at the point.
Repeated heats, slowly working your way across the blade, and back up if you need to. If possible, it should be straight, even, and uniform in thickness, with a slight bulge toward the handle. If your blade is already pretty straight and clean, you can hammer in the bevels too.
It reduces the amount of heat and work. Next, you can create the blade’s bevel by working with the sword’s. A smaller hammer may be a good choice for this time.
You move up and down the blade, heating it piece by piece and hammering the bevel, just like you did when cleaning and leveling the blade. You do this by raising the sword’s far end and driving the bevel into the near end.
While each piece is hot, flip the same piece over and make the other edge. Try to keep it straight. Practice makes perfect, but try to keep the thickness the same. The more work you do here, the less work you will have to do manually later.
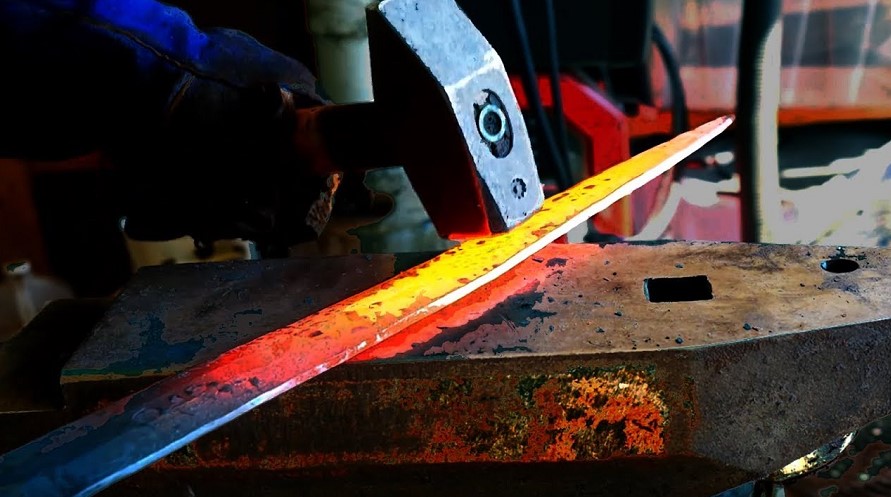
Annealing the sword
To soften up and release the stress from the sword, you need to heat the whole thing to Curie’s temperature. Depending on the type of steel you are using, this temperature will vary.
The temperature of the sword is impossible to know without some gadgetry. We can use a magnet to solve that. As you heat the sword, it will lose its magnetic attraction.
That part is very easy to do. The biggest challenge is heating the whole sword evenly and slowly. There are several different ways to accomplish this.
There are holes in the tube, and it is very similar to a regular forge. This approach will provide us with a large bed of coals. So, heat the whole length of the sword evenly.
You can move the coals around as often as you need to. Getting it as evenly heated is important. You can check the sword with a magnet. The sword is ready if it doesn’t stick.
You should move the sword to the side of the forge and then turn the forge off. We are waiting for the sword to cool slowly. It is necessary to keep it in the forge and let the forge die out.
This will take a couple of hours, and you also have the option of burying the sword in sand or vermiculite, which will also cool it down slowly. It softens and reduces stress, and then we will do rough sanding and shaping.
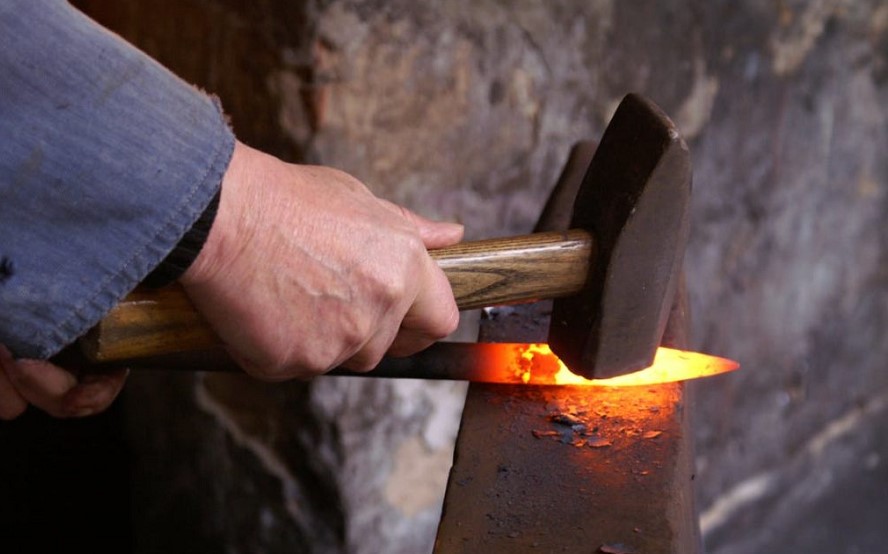
Grinding
In this part, it looks like a sword. The grinding is called rough grinding, but we do 95% of the grinding right here. A later step will be to finish grinding and polishing.
The blade is 18 inches in length. It has a nice shape and is well-defined. Moreover, the blade looks excellent, but it does not have its final polish. Ladder down the tools and equipment.
The first step is to use big power tools to do the rough work, then you use finer tools to do the finer work. If you have a 6′′ belt sander, start with that.
Clean off any dirt and sand the sword’s edge so that it has a nice shape. A bench grinder, a belt sander, files, and 100-grit sandpaper are some of the smaller tools that you can use.
You can use a grinder to get the spot where the blade ends and the tang begins.
The blade should have two flat spots. Sharp corners should be avoided at the place where these flats meet. It is necessary to cutting edge and round these inner corners.
This will help it to be stronger and less susceptible to stress cracks. The important part of sharpening a sword is cutting edge. The blades of the sword can be seen from this side view. Each side of the blade must be sharpened along the entire length of the blade.
There are two types of grinding, flat and circular. The bevels have straight edges with polished edges. The second type of grinding is the hollow grinding process. The sharpest blade is given by this, but it is the most difficult to grind.
There is a lot of work to be done. All you have to do is switch to 100 grit emery paper. We don’t have to polish this serviceable sword because it will be sent to the forge again.
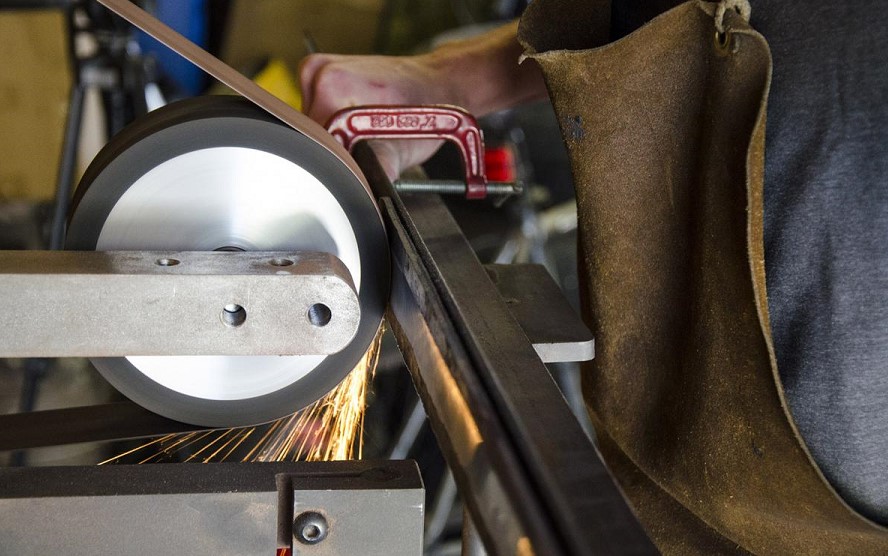
Make the sword handle
You will find numerous different kinds of handles you can make. You are welcome to experiment with different handles to make anything you like.
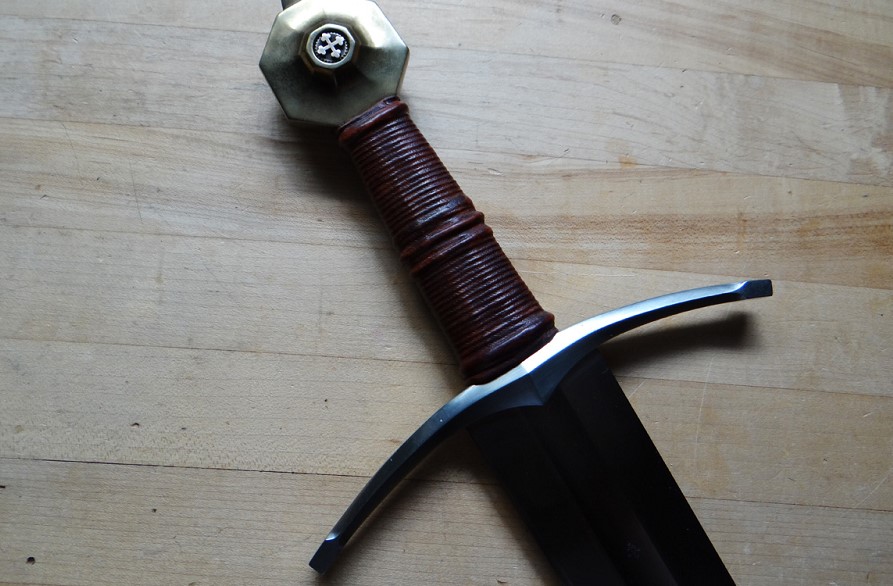
Below is a variation of the handle. This is a wooden handle made of purpleheart wood. The pommel is also made from wood. The three are the guard, the pommel, and the grip.
The guard and grip are made of brass, and the grip is made of purpleheart. The pommel is made of wood and doesn’t weigh much. It’s more likely that metal is used. It helps to keep the sword in balance.
Making the guard
You should use a piece of brass that is six inches long, one inch wide, and 3/16 inches thick. Barren stock is easy to get hold of. You should make a template out of Styrofoam before you start working with brass.
The size and shape can be obtained. Foam, cardboard, or something similar is possible. Changing it that way is very easy to mess around with. The sword has a pattern placed on it. The shape and size of it make it a good choice to stick with.
This pattern needs to be made from a copper rod. You should sand everything down with a belt sander.
To obtain a slot, first drill three holes and then file them. When you create a guard, you can attach it to the sword to ensure that it is moving in the correct direction.
The guard should be flat and perpendicular to the base of the own blade. It should be aesthetically pleasing and flat. You can grind the base of your blade to achieve this.
The guard is a thing that is made to fit the size and shape of the sword. I have a length of just six inches. Twelve inches long was the piece of brass that. If this first one got ruined or if you wanted a different shape, this would give you another six inches.
Brass is easy to work with while forging swords. It fits very well, so you will not have any problems with this detail. It grips and holds steel very well, which makes it effective in real sword making.
When cutting a gap, you should make it smaller than you need and check if it fits the sword, and then file it down. Then keep doing it until you get a good shape.
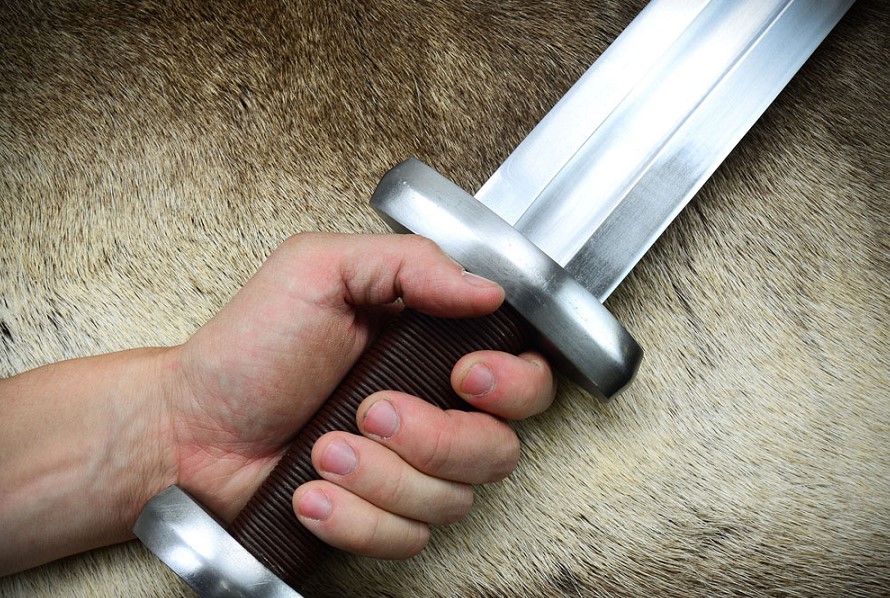
The wooden grip
In this section of the tutorial on how to forge a sword, you will learn how to create a wooden grip. There are a lot of types of wooden handle. From here, you can make anything you like with all kinds of different handles.
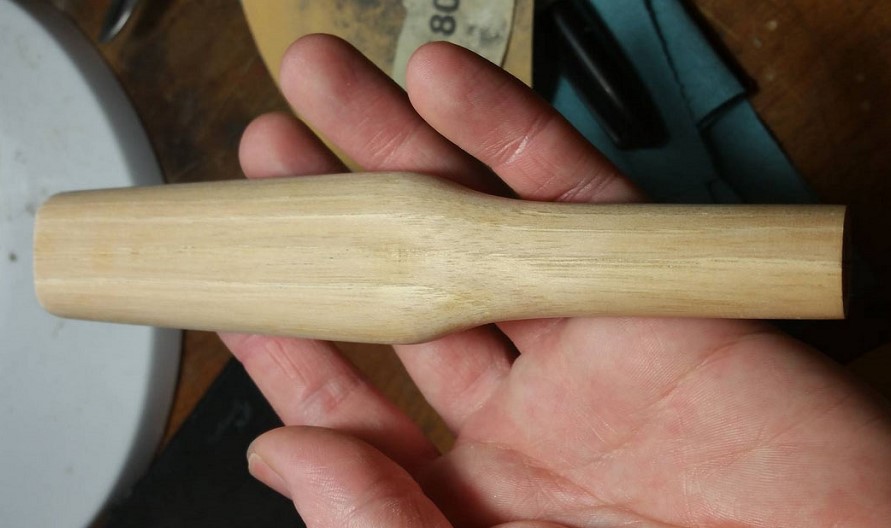
When starting with a raw piece of wood, you should start cutting the edge of it with a hand saw until it was roughly the right size and shape. Then, you should work the exact same piece on the belt sander to bring it to its final shape. This grip has a length of 4 1/2 inches.
While you are making the grip, you should be wrapping your hand around it to see how it feels. A good feel and size are important for a good grip.
The next step is to drill out the wooden handle so that it fits snugly on the tang. Put it in a vise and drilled three holes on each side. It was necessary to flip the handle over and drill three holes on the other end.
The slot in the grip should be wider on one end than the other because that is the shape of the tang. Be sure to constantly check the sword as you are working it. It is supposed to fit snugly yet go all the way to the guard. You should have plenty of room on the end, so you can pin the pommel on.
Later on in the process, we will drill holes through the sword handle and the tang of the sword. You’ll be able to pin them with a brass rod. It’s possible to polish this wood handle with oil. It works very well with tung oil. Furthermore, we can also create a wire-wrapped handle for this sword. You use a 16 gauge wire.
You take two 15-foot lengths and twist them, placing one end of each into the drill and twisting slowly. Clamp the far end of these wires in a vise.
Then we will wrap this twisted pair of wires around the handle. Drill a small hole to secure it in place. Insert the end of the wire in there and then wrap the whole handle and then drill another hole in the other end to insert the end of the wire after wrapping is completed. After that, you wrap this twisted wire around the handle.
To make the wraps, use a 0.032-inch thick brass sheet and cut two strips with scissors. Wrap one around the stain on the handle, then solders it together to form a loop. The strips are about 1/2″ wide. It shows soldered strips and their place on the handle.
The pommel
This part of the tutorial will show you how to make the pommel of the sword. You could also use the same process to make one out of a type of metal. The brass works well.
Part of the pommel is decorative and it serves some functions as well. It counterbalances the weight of the sword and is used as a weapon.
When making the pommel, keep these things in mind. You could use almost any wood, but you should use hardwood that won’t break or split.
Purpleheart is the name of this one.
You will also need to drill some holes part way into it to form the slot for the end of the tang. When choosing wood for this, make sure to choose a quality hardwood that won’t crack or split.
Once the pommel is complete and perfectly aligned, you will need to drill it in. Put the sword on the ground and drill through it. This way you can pin it. To pin it, drill a 1/8-inch hole in the brass rod.
Using a fine file and whetstone, sharpen your sword blade until you are happy with the result. Here’s how to forge a sword!
FAQs
Can I forge my own sword?
Making your own sword is a big project for beginner blacksmiths. Forging swords requires patience, experience, and time. It is possible to forge swords at home with the right tools and safety equipment.
How do people forge swords?
It takes a long time to learn sword-making. To forge a sword, you need a certain amount of special tools, as well as time.
How long does it take to forge a sword?
On average, sword-making takes several hours. Forging your own blade is a very long and labor-intensive undertaking.
What equipment do I need to forge a sword?
There are tools you will need, such as a hammer, anvil, tongs, a vise, high carbon steels (or Damascus steel), a forge, chisels, and punches will also be needed.
Results
As an aspiring blacksmith, your best bet is to first get trained by a professional to make your own sword. There are many organizations where you can communicate with other blacksmiths and teachers. Once you have mastered the basics, you can decide to build your own forge house and forge anything you want.
The sword forging process takes a lot of time and effort, as well as good skills. However, if you have the right tools and the will, you can perfectly forge a sword step by step. Believe me, you will be very pleased with your own sword.

